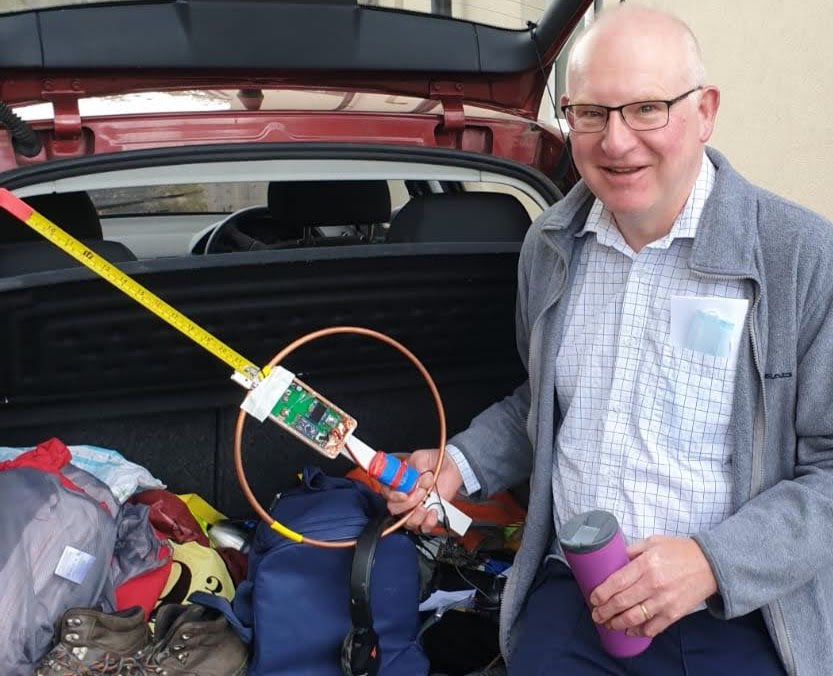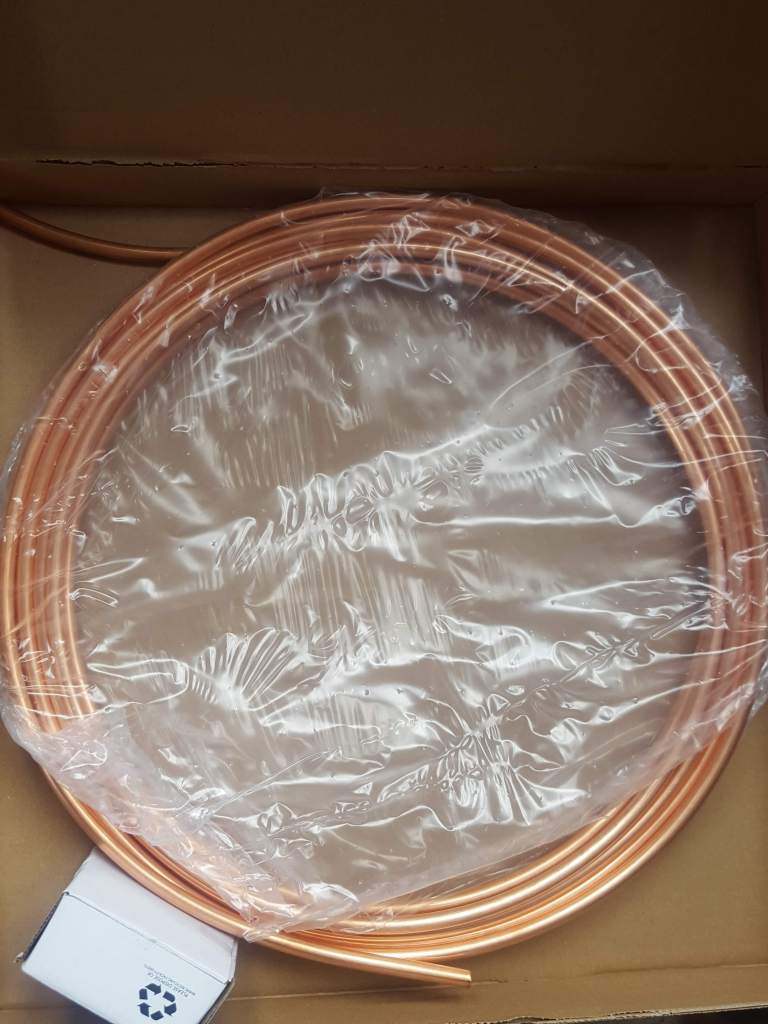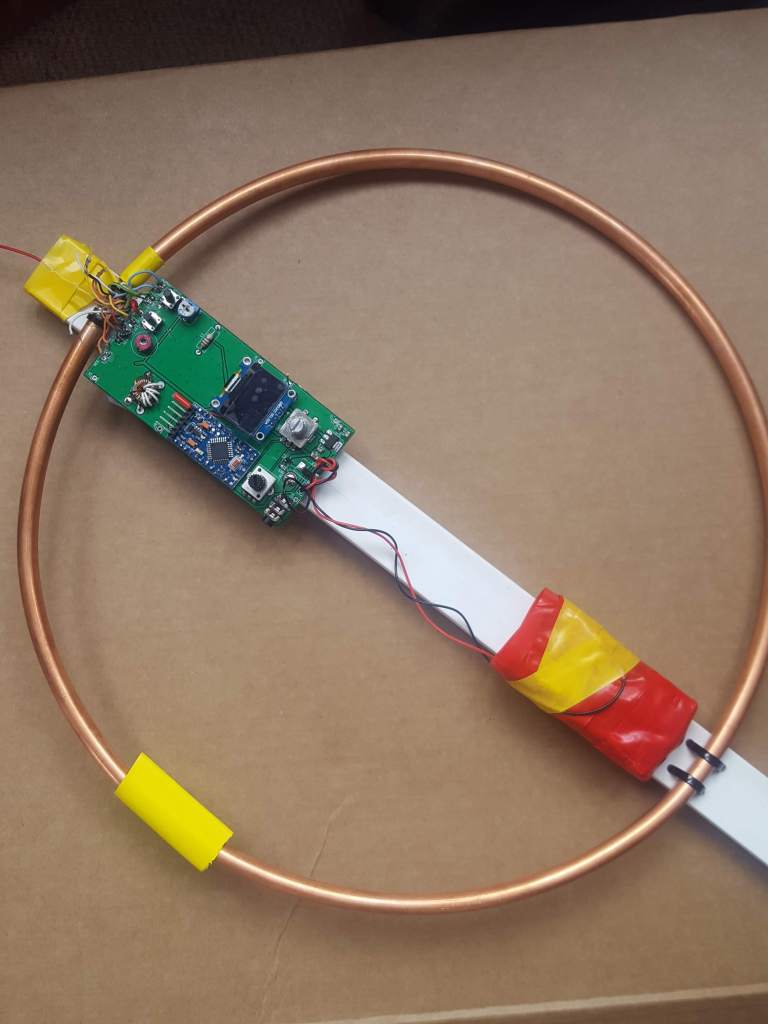
I’ve been enjoying topband ARDF competitions organised by Roy, G4JAC and friends for more than a year in between lockdowns. At yesterday’s event I decided to risk using my own radio instead of borrowing one of G4JAC’s proven models. I say “risk” for two reasons:
1. I wasn’t sure if it was sensitive enough- I tested it in my back garden and a field using a homemade test transmitter but I was unsure how effective my transmitter was compared with those used in the competition.
2. My prototype was unboxed and unprotected from the elements and brambles.
The sensitivity question was answered from the car park just before competition. Roy had helpfully installed a transmitter to guide us to the starting point and allow us to check our radios. If I could hear that transmitter from the cra park I should be able to hear the transmitters in the competition. I tuned the radio to 1.960 MHz, turned up the gain (all controlled using an arduino with rotary encoder) and heard a distinct tone followed by … in morse. Success!
I’m on my third iteration, the first model was built ugly style using 2N3904 BJTs in a Cascode configuration, the second dual gate MOSFETs and the third used surface mount BJTs again. All are single conversion superhets, with 10MHz IF filter using cheap microprocessor crystals. In the test from the car park I found the MOSFET one worked better so I used that for the competition.

